Decimate in Blender, or reduce polygons online
Cut a heavy mesh down with Blender's Decimate modifier or in your browser: which mode to use, how far to go, and how to keep the shape and the textures.
21 September 2026 · updated 29 September 2026 · 4 min read
A generated model arrives with around two hundred thousand triangles because that is how it was built, not because the shape needs them. A scan has millions. A game asset seen at arm's length wants a few thousand, and a background prop a few hundred. The method for the gap is edge collapse: remove the edges whose removal changes the shape least, one at a time, until the count is right. Blender's Decimate modifier does it, and so does Reduce, in your browser.
For reference: a hero prop 5,000 to 20,000 triangles; a mid-distance prop 1,000 to 5,000; a background object under 1,000; on a phone, a quarter of each.
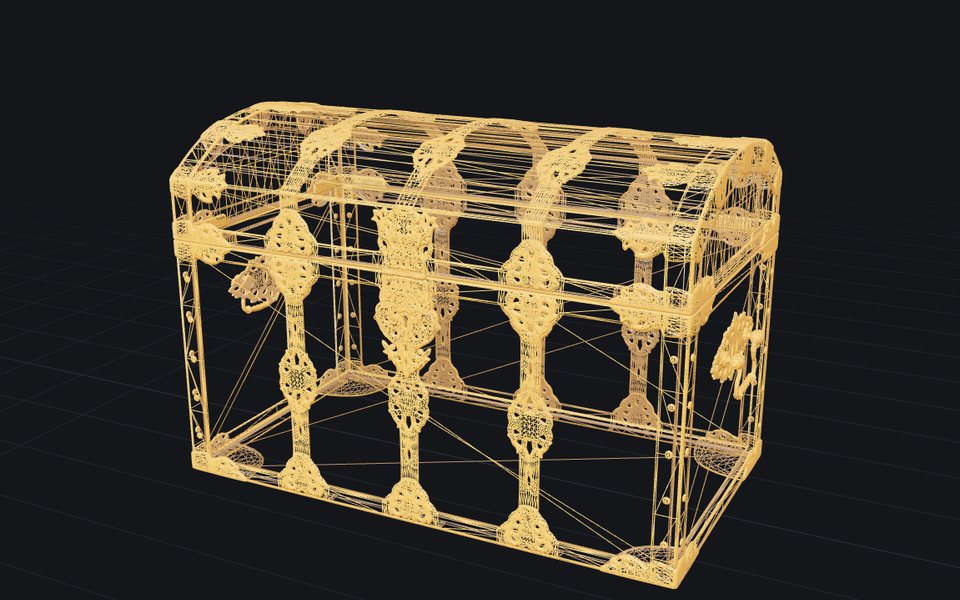
103,000 triangles
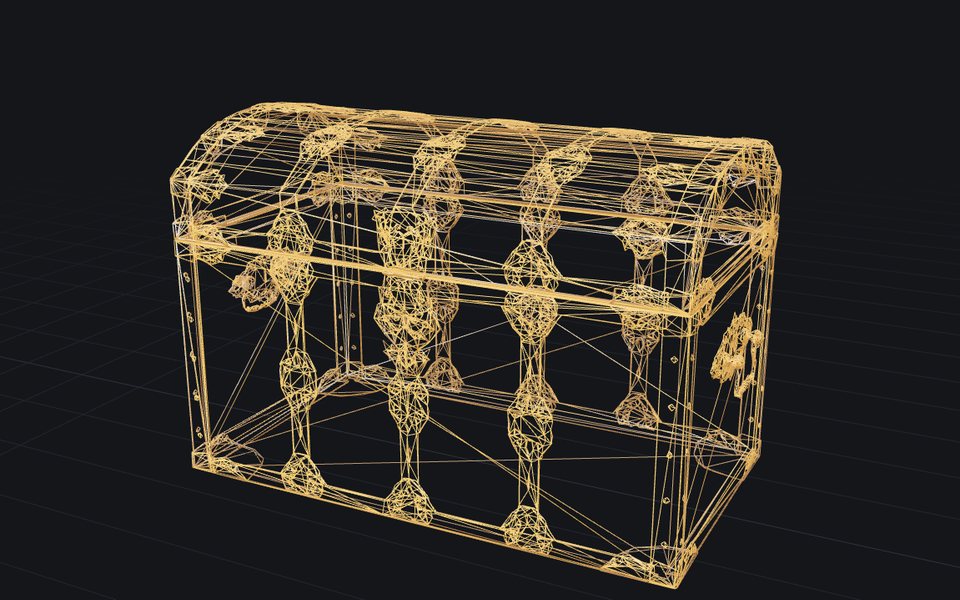
A tenth of them
In Blender: the Decimate modifier
Select the object, open the Modifiers tab of the Properties editor, and choose Add Modifier → Generate → Decimate. It has three modes, and the choice matters more than the numbers:
- Collapse is the one you want almost every time. Ratio is the share of faces to keep: 0.25 keeps a quarter. The modifier shows the resulting Face Count as you drag, so you can aim at a number. Symmetry keeps a symmetric model symmetric, and a Vertex Group protects an area, a face or a hand, from being thinned as much as the rest.
- Un-Subdivide undoes subdivision on a regular grid, such as a model that was subdivided too far. On a scan or a generated model, which have no grid, it does little.
- Planar merges faces that lie flat against each other, within the Angle Limit. It is for hard-surface and CAD models with large flat areas, and it leaves curved surfaces almost untouched.
The modifier is live: nothing changes in the mesh until you apply it (hover over it and press Ctrl+A), so you can try ratios freely. To decimate only part of a mesh, select it in Edit Mode and use Mesh → Clean Up → Decimate Geometry.
Two things to watch. The count is in faces, and Blender counts a quad as one face where a game engine counts two triangles; tick Triangulate to see the number an engine will. And at low ratios the texture can smear along UV seams, so check the model with its material before you apply.
Online: Reduce
Reduce is the same method without opening Blender, and it adds three things the modifier does not: it measures how far the surface moved, it reduces a GLB with its textures, UVs and materials kept, and it writes levels of detail.
Load and read the count
Open Reduce and drop the file: STL, OBJ, PLY, GLB or glTF. The triangle count is under the file name.
Pick a share and reduce
The presets are the usual jumps: 50%, 25%, 10% and 2%. The slider goes anywhere in between, and the box beside it takes an exact triangle count. Try a quarter first, press Reduce, and the viewer switches to the result.
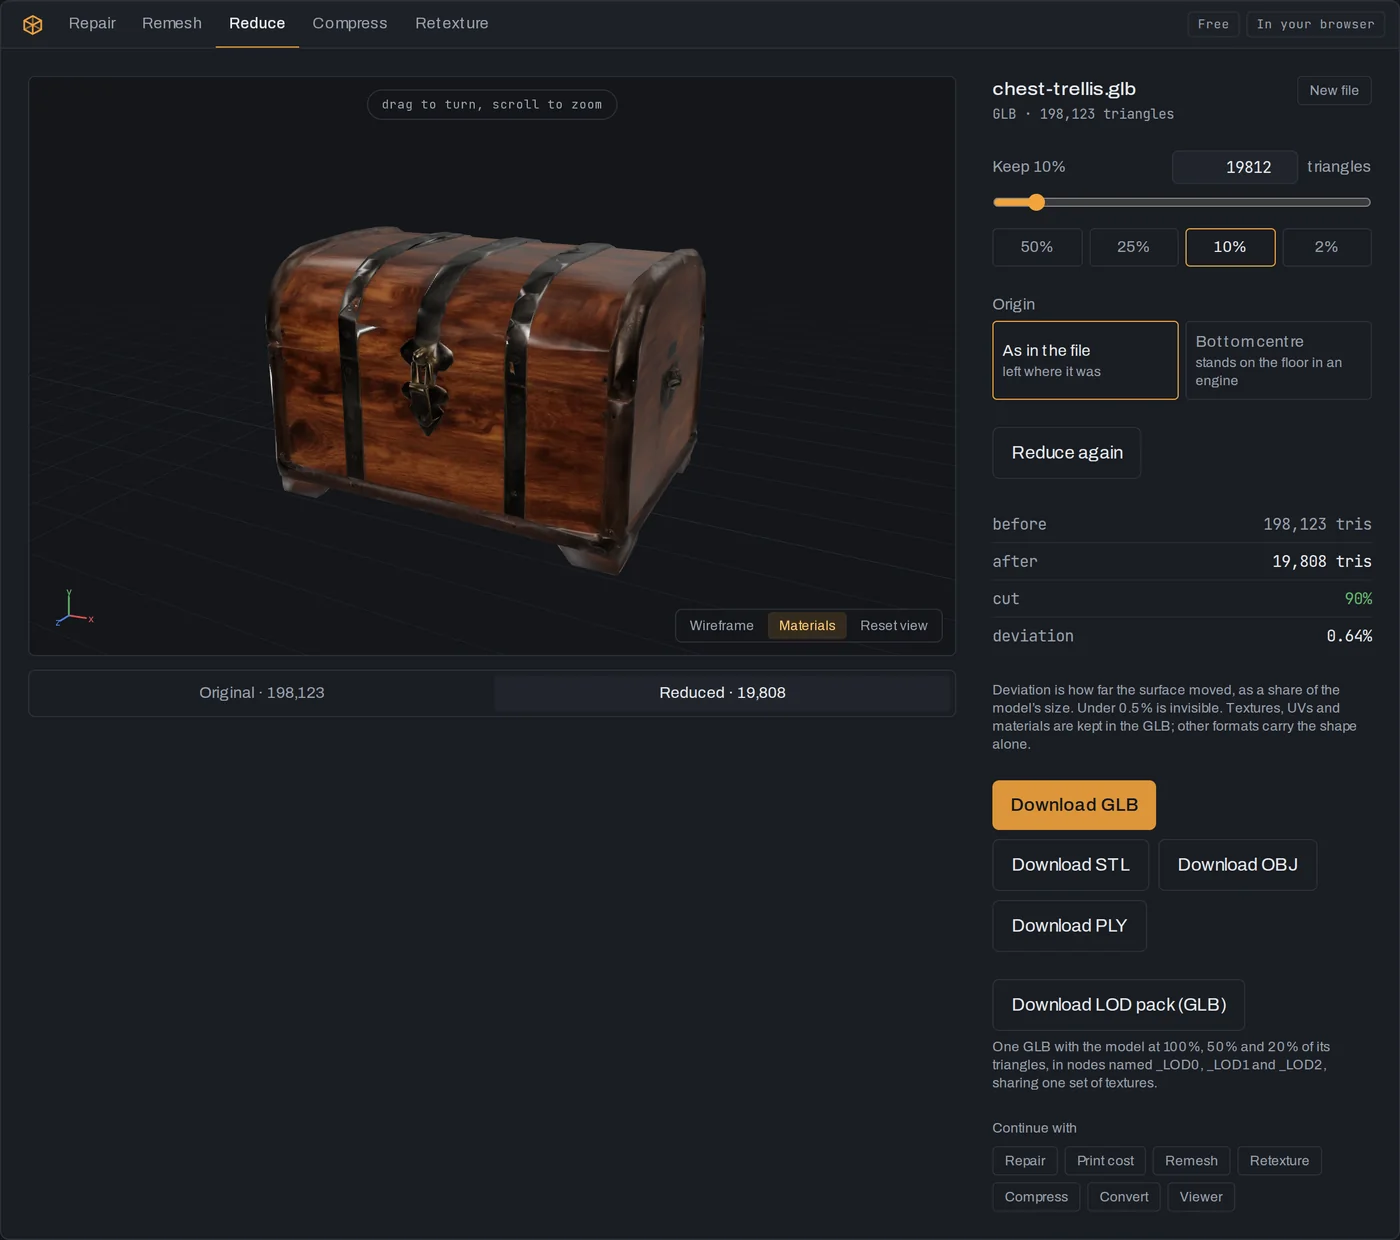
The generated chest at a tenth: 90% of the triangles gone, the surface moved by 0.64% of the model's size at worst, and the texture intact. Compare, and read the deviation
Original and Reduced under the viewer flip between the two; Wireframe shows where the triangles went. Deviation is the honest measure: the furthest the surface moved, as a share of the model's size. Under 0.5% is invisible. Under 2% is fine for anything not seen close. Above that the shape is changing, and fewer triangles was too few.
Edge collapse removes triangles from flat areas first and keeps sharp edges, which is why a chest reduces beautifully and a smooth sphere shows facets sooner. A GLB is reduced with its textures, UVs and materials, and the tool stops early rather than tear a texture seam: if it says Stopped at a count above the one you asked for, that is the floor for this model.
Below that floor, or when even a small cut looks lumpy, use Remesh instead. It lays a new, even mesh over the shape at the count you choose and bakes the fine detail into a normal map, which holds up far better at a few thousand faces.
Set the origin and download
For a game, set Origin to Bottom centre so the model stands on the floor where you drop it, instead of sinking halfway in. Then download: GLB keeps the textures and goes straight into Unity, Unreal, Godot or a web page; OBJ for a modeller; STL or PLY for a printer.
For the web, Compress takes a GLB the rest of the way: choose Web, smallest and it usually halves the file again.
Levels of detail in one file
Engines swap models by distance: the full model close up, lighter copies further away. With a GLB loaded, Download LOD pack (GLB) writes all three into one file: the model at 100%, 50% and 20% of its triangles, in nodes named _LOD0, _LOD1 and _LOD2, sharing one set of textures. The _LOD suffixes are the naming convention engines and their importers look for; where yours does not build the LOD group on its own, the three meshes are ready to drop into its LOD slots, and you set the switch distances there.
Which one to use
Already in Blender, working on the mesh anyway: Decimate, with a vertex group to protect the parts that matter. A file you want lighter without opening anything, a GLB whose textures must survive, a number that says how much the shape changed, or LODs for a game: Reduce. And when neither gets low enough without the model going lumpy, the answer is new topology rather than fewer triangles: see what retopology is, and Remesh.
More tutorials
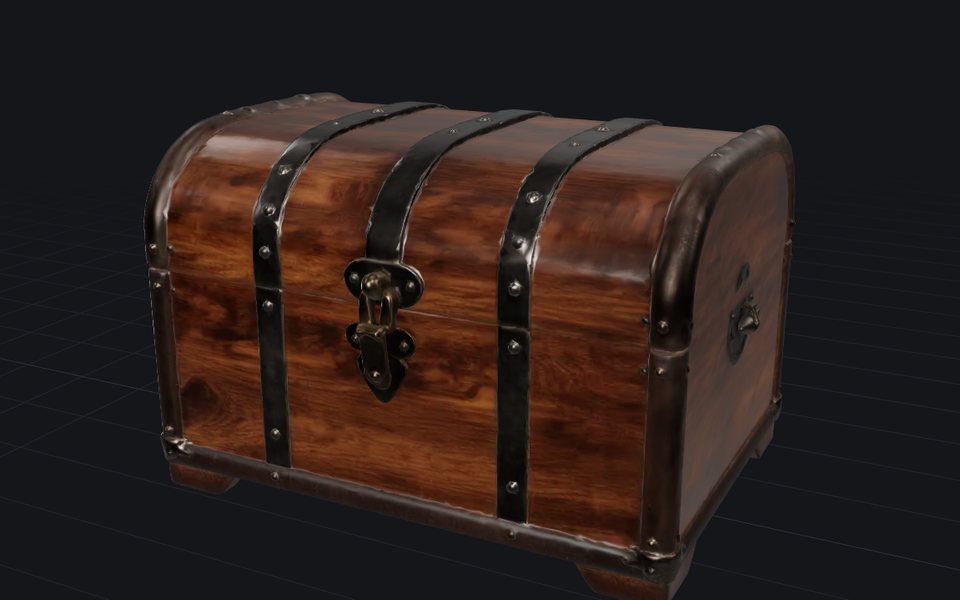
24 September 2026 · 3 min
Image to 3D print: how to 3D print a picture
Turn a picture of an object into a sealed STL at the size you want, and know the filament cost and the printer it fits before you slice.
23 September 2026 · 3 min
How to fix an STL file that will not slice
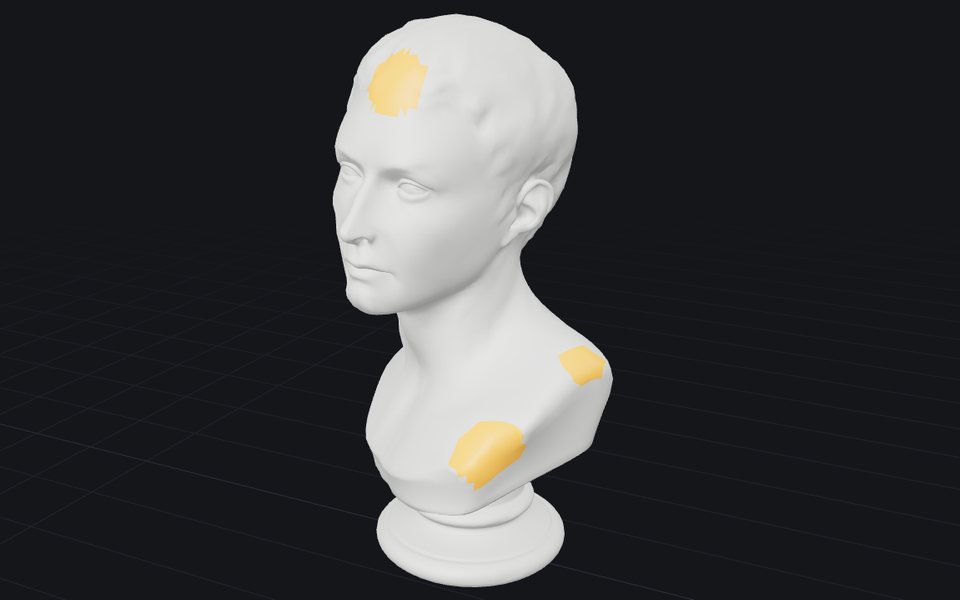
Holes, flipped faces, loose fragments, overlapping parts: choose how far the repair goes, watch it run, and see every patch it made before you download.
22 September 2026 · 2 min
How to make a normal map from a photo
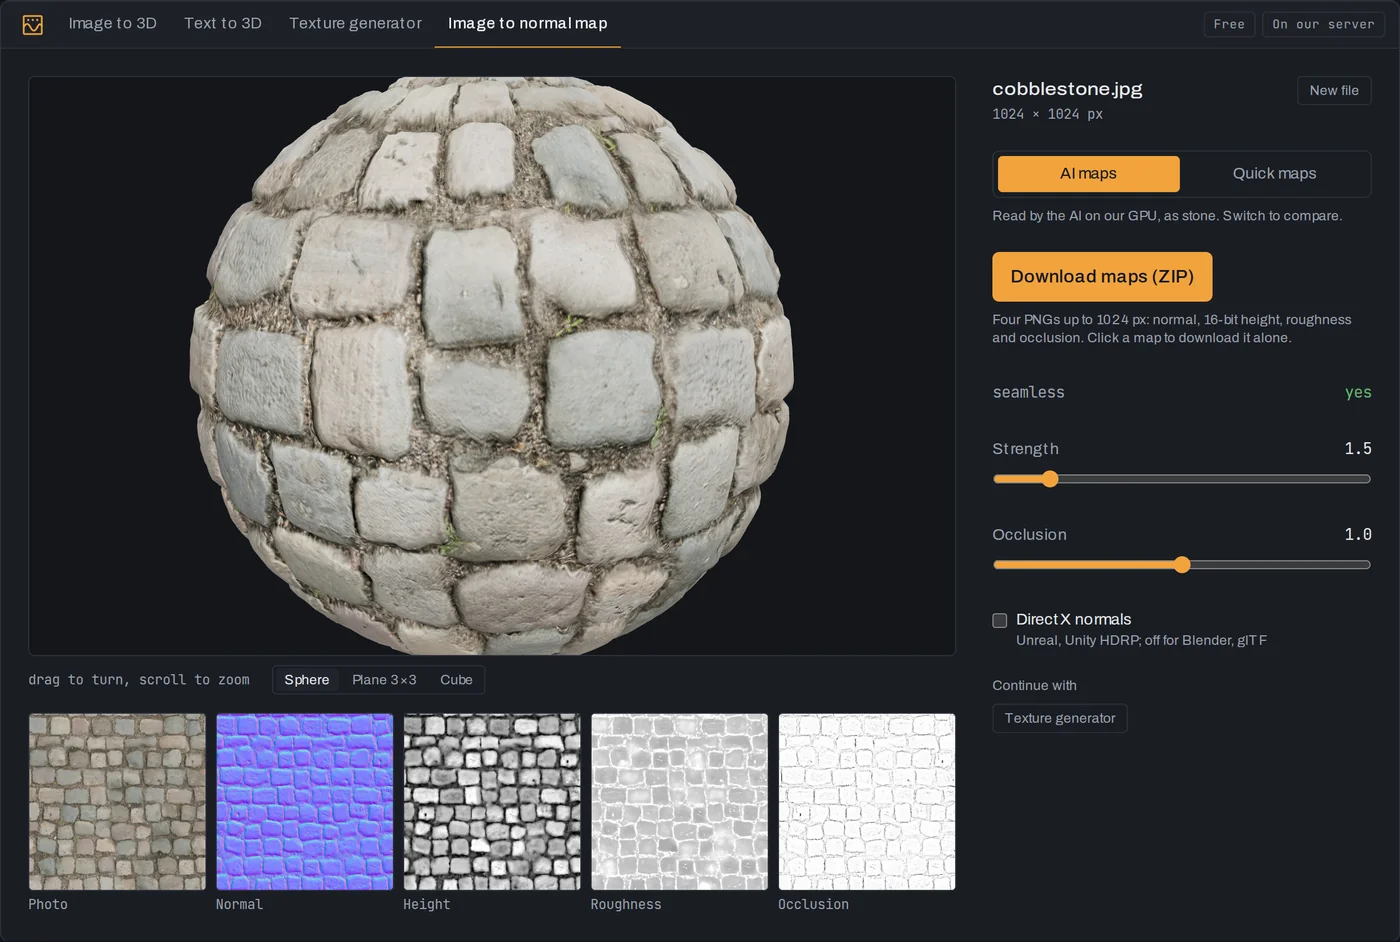
Turn a photo of a surface into normal, height, roughness and occlusion maps, read by AI on our GPU in seconds.