Image to 3D print: how to 3D print a picture
Turn a picture of an object into a sealed STL at the size you want, and know the filament cost and the printer it fits before you slice.
24 September 2026 · updated 29 September 2026 · 3 min read
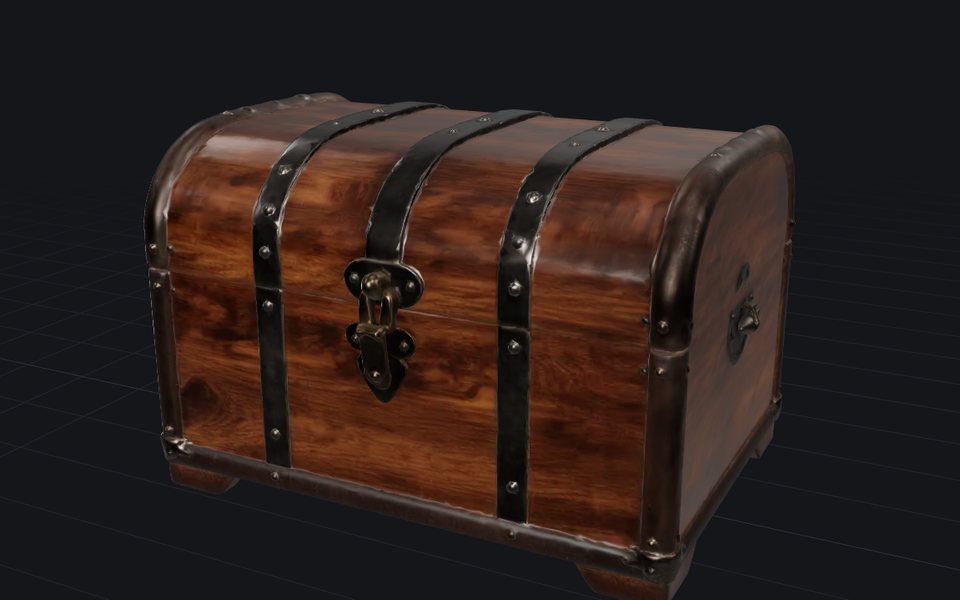
You need: a photo, a browser, and about five minutes. No account required. The model is made on our GPU; the repair and the print check run in your browser.
Pick the photo
One object, most of the frame, plain background, taken slightly from above. Symmetric things come out best: mugs, chests, figurines seen from the front. The chest in this guide is one of the samples under the drop zone ("No photo? Try one:"), so you can follow along with exactly this file.
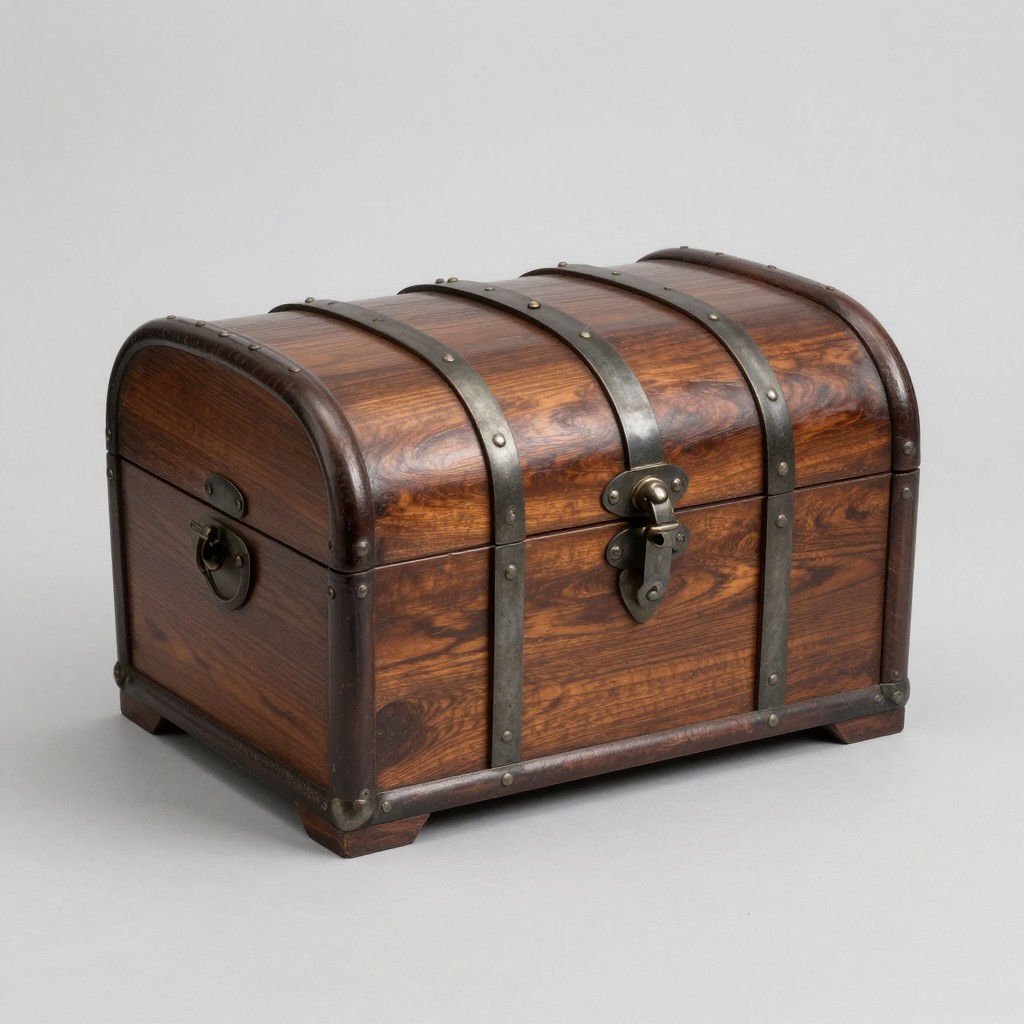
No photo at all? Text to 3D paints one from a sentence first. Tick Check the picture first to see the painting before any 3D is made, and change the words until it is the object you meant.
Make the model and check it
Open Image to 3D, drop the photo and press Make 3D model. It takes about thirty seconds.
Turn the result around, and read the numbers beside it. Size is in millimetres at about a metre across, the generator's own scale, not the size you will print. Printing says "ready" or "needs repair": ready means one closed piece with no problem edges, and a generated model rarely is.
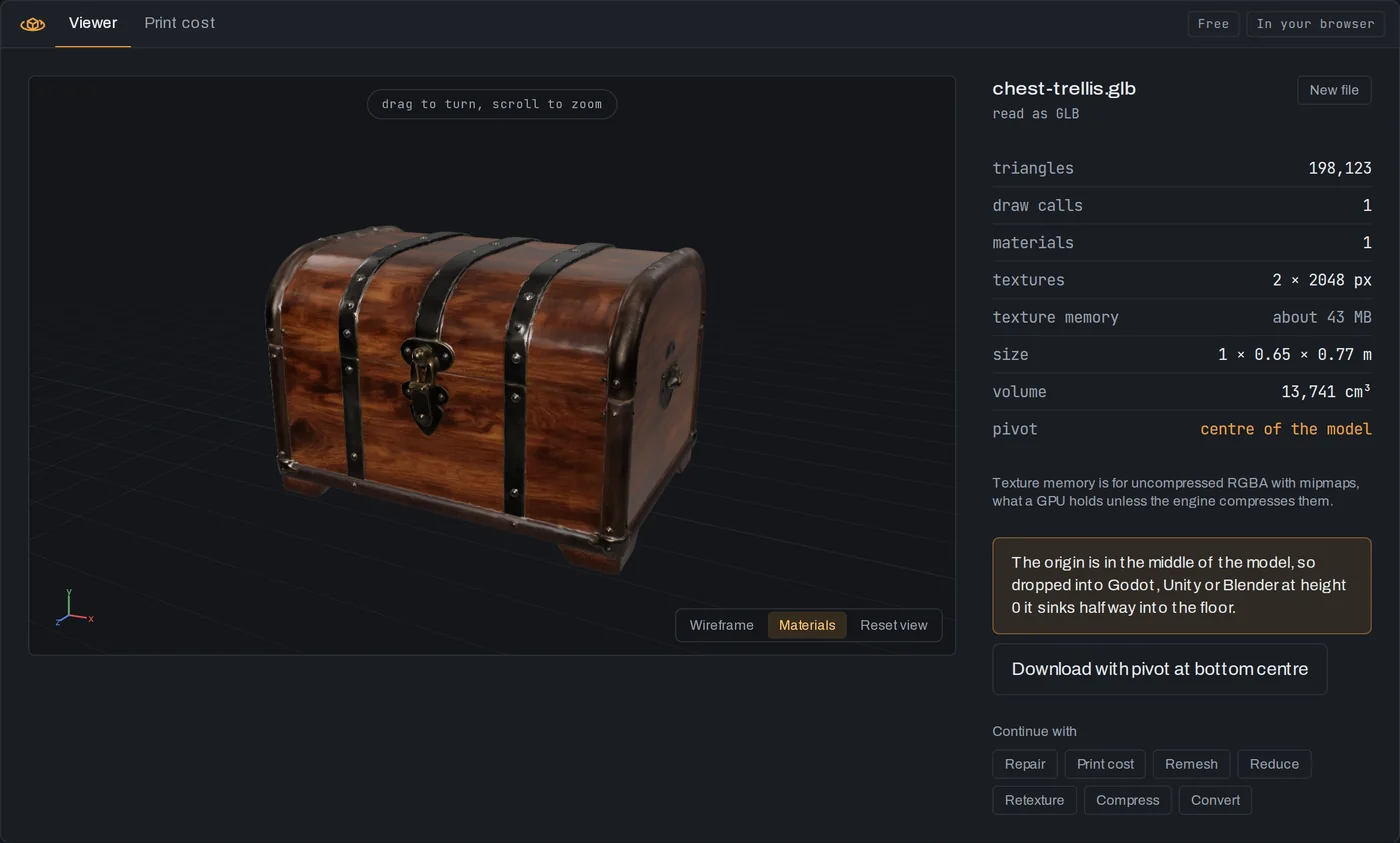
The far side is the model's guess. Rotate to it before printing something that will be seen from behind. If the shape is wrong, Generate again: a new run is a new guess.
Repair for printing
When the model needs repair, a box under the downloads says so. Press Repair for printing. The model opens in Repair, which starts on its own: it merges duplicate vertices, turns flipped faces, removes loose fragments and closes holes with patches that follow the curve around them.
A generated model is often a few overlapping shells rather than one skin, so the repair then makes it solid. It first joins the parts exactly, the way a boolean union in a modeller would, and loses no detail. Only if that fails does it rebuild the model from a fine grid of cells, which softens the finest edges. The sentence under the verdict says which one happened.
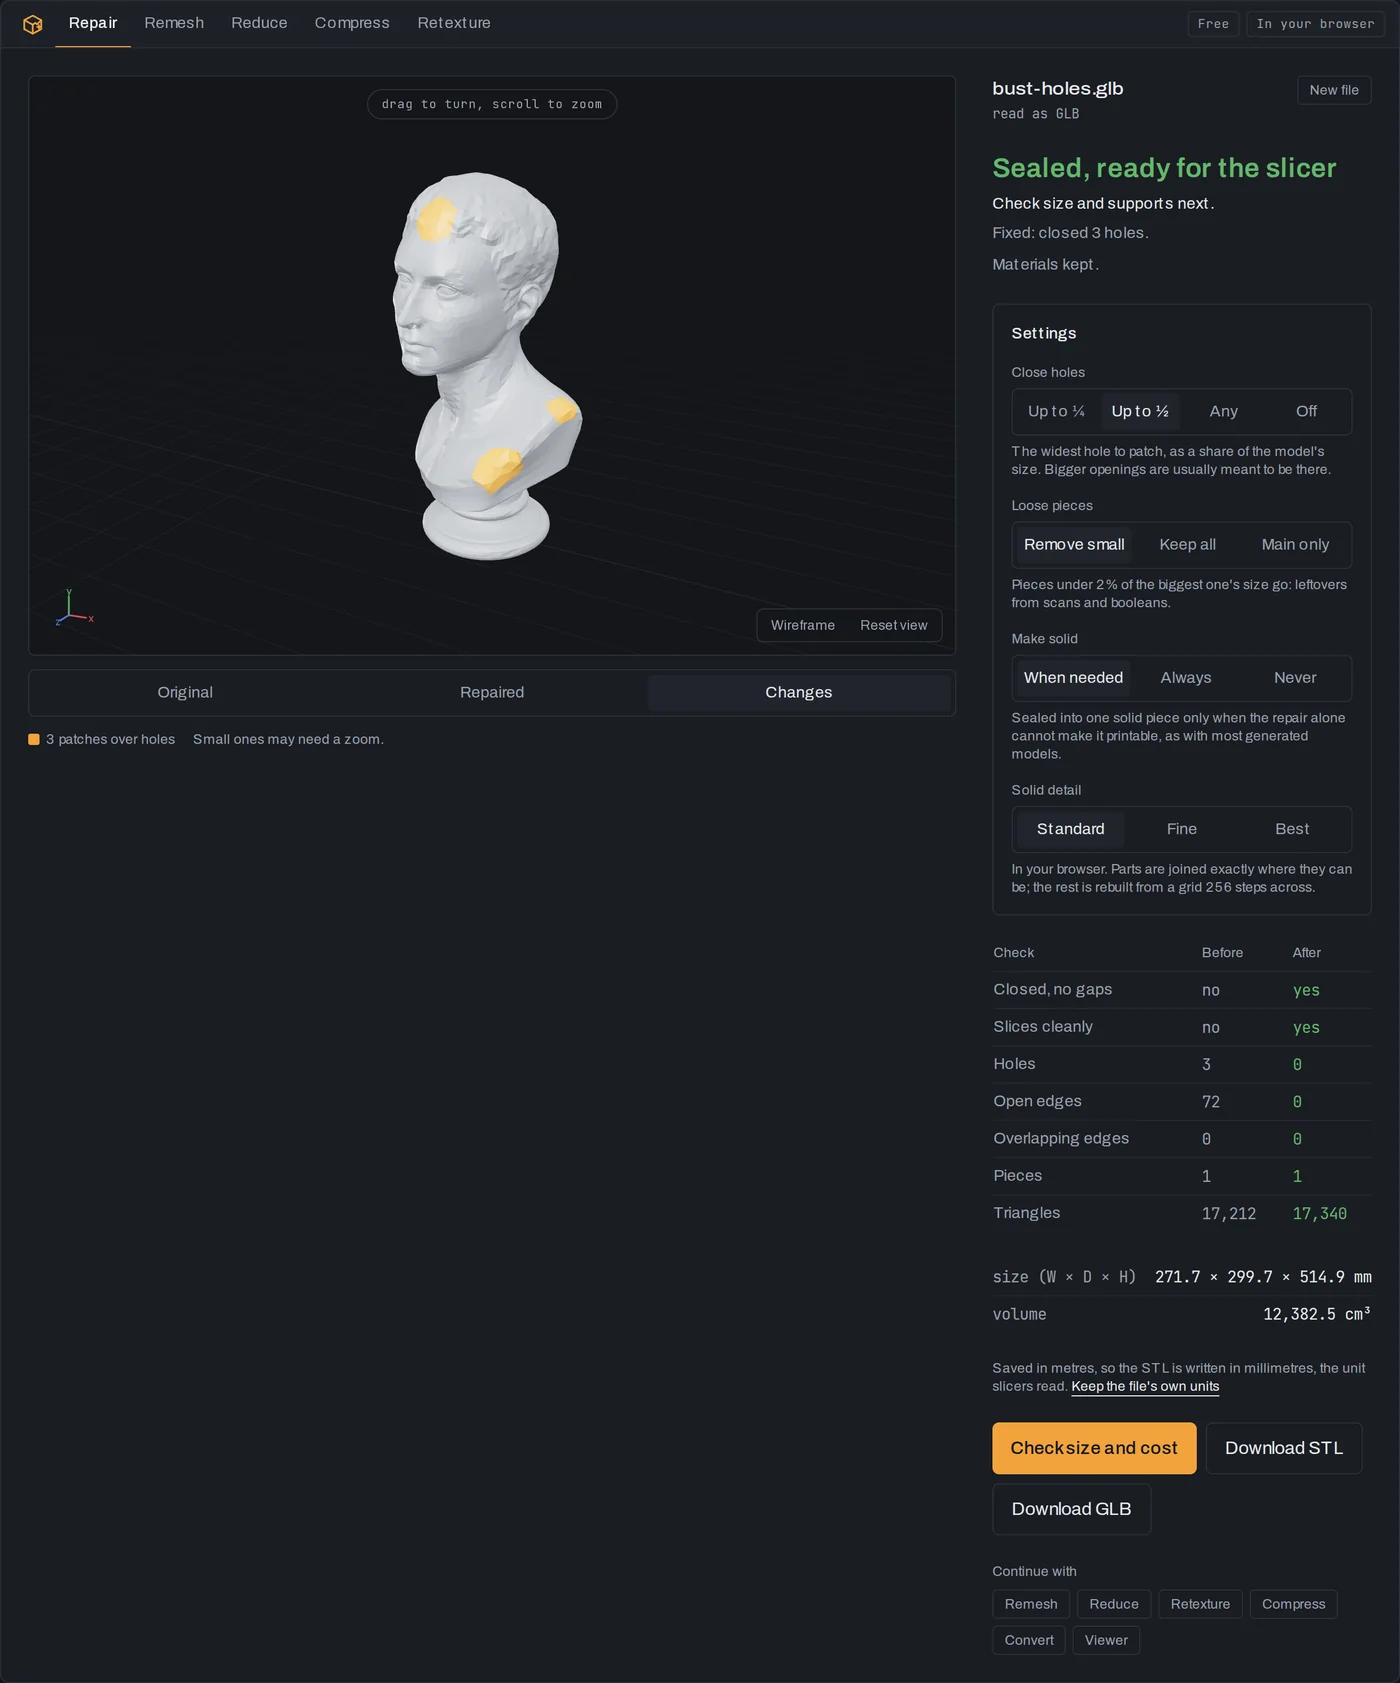
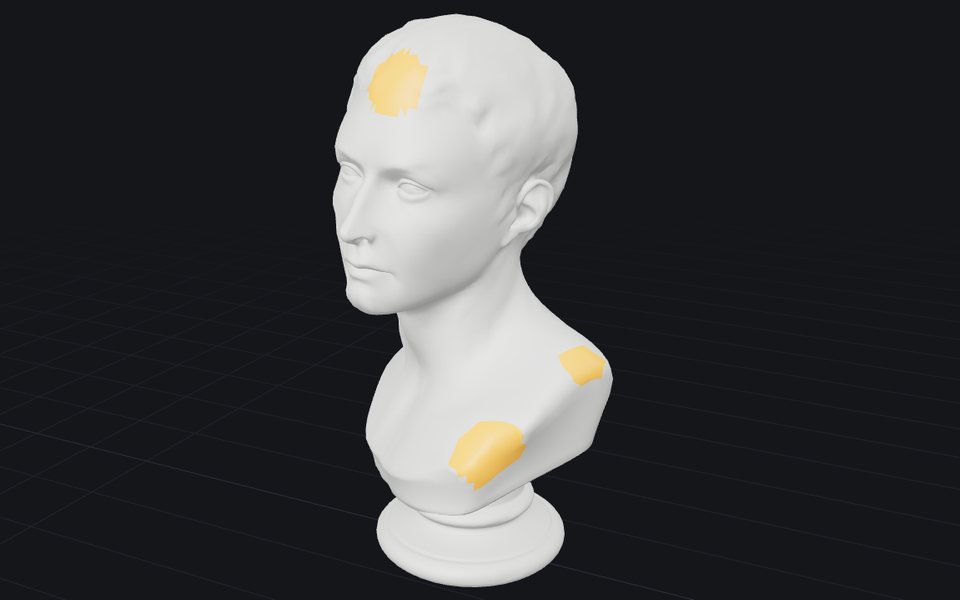
The Changes view shows every patch in amber and every removed piece in red. This is a scanned bust with three holes torn out; the chest works the same way. When the verdict reads Sealed, ready for the slicer, press Check size and cost.
Set the size, pick the printer, download
Print cost opens the model at 150 mm, a shelf piece. Type any size in Print at (longest side) or use the presets: 50 mm is a keyring, 100 mm a desk ornament. Choose your printer under My printer; the list below the model shows every common bed it fits on at that size, sometimes only laid on its side. If it is too big, a Print at button offers the largest size that fits.
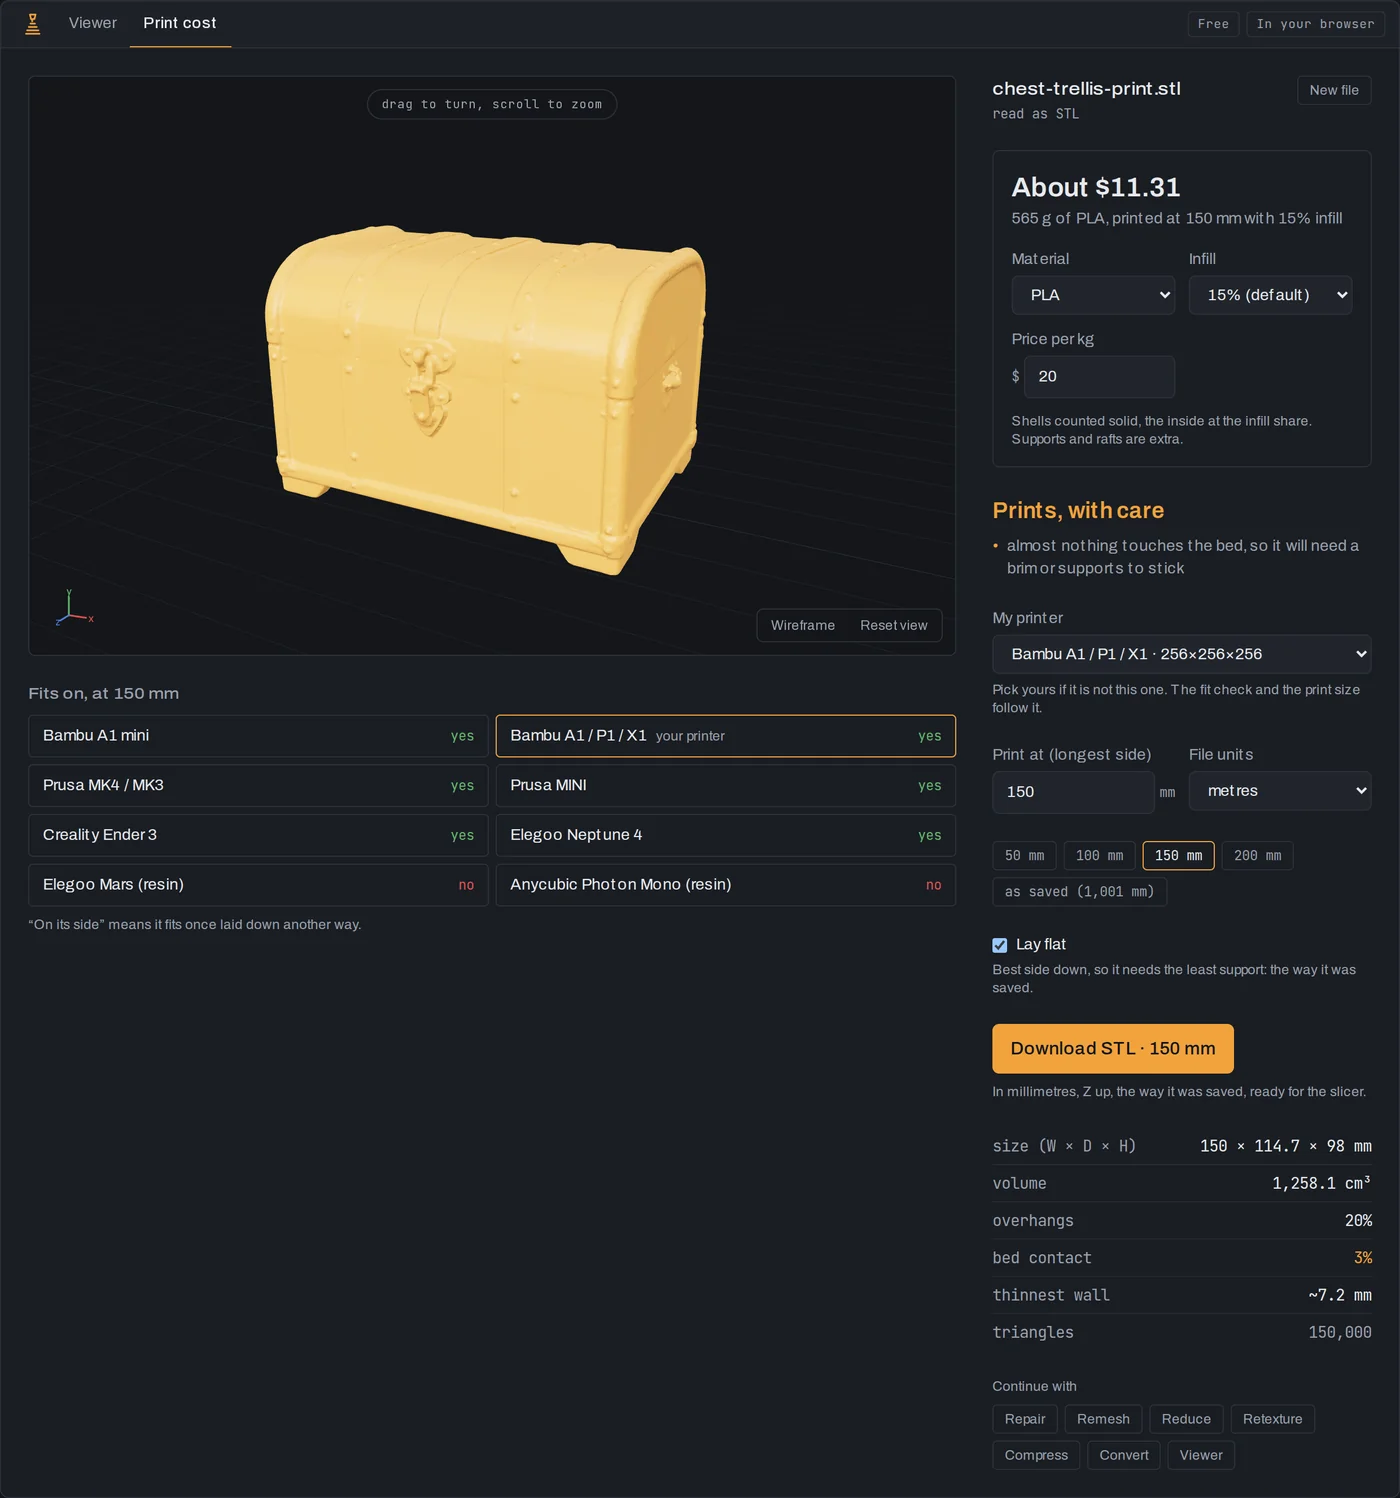
The chest at 150 mm: 565 g of PLA at 15% infill, about $11 at $20 a kilo. Change material, infill or price per kilo and the estimate follows. Three numbers to read before slicing:
- Overhangs past 25% means a lot of the surface faces down steeper than 45° and will need support.
- Bed contact under 5% means almost nothing is flat on the bottom; a brim fixes it. Lay flat, on by default, has already turned the model to the side that needs the least support.
- Thinnest wall under 0.8 mm is flagged: those parts may not print at this size. Print larger.
Then Download STL · 150 mm. The file is in millimetres, Z up, named with its size, so the slicer opens it at exactly the size you chose.
If it did not come out right
- The bottom is not flat. Leave Lay flat on in Print cost, add a brim, or cut the bottom off in the slicer.
- Fine details are smoothed away. They were smaller than the model's resolution. Print larger, or accept it.
- The back looks wrong. Only one photo went in, so the back is invented. See how image to 3D works for the photos that give it the best chance.
- The slicer still complains. Open the STL in Repair, set Make solid to Always and Solid detail to Fine, and repair again.
More tutorials
23 September 2026 · 3 min
How to fix an STL file that will not slice
Holes, flipped faces, loose fragments, overlapping parts: choose how far the repair goes, watch it run, and see every patch it made before you download.
22 September 2026 · 2 min
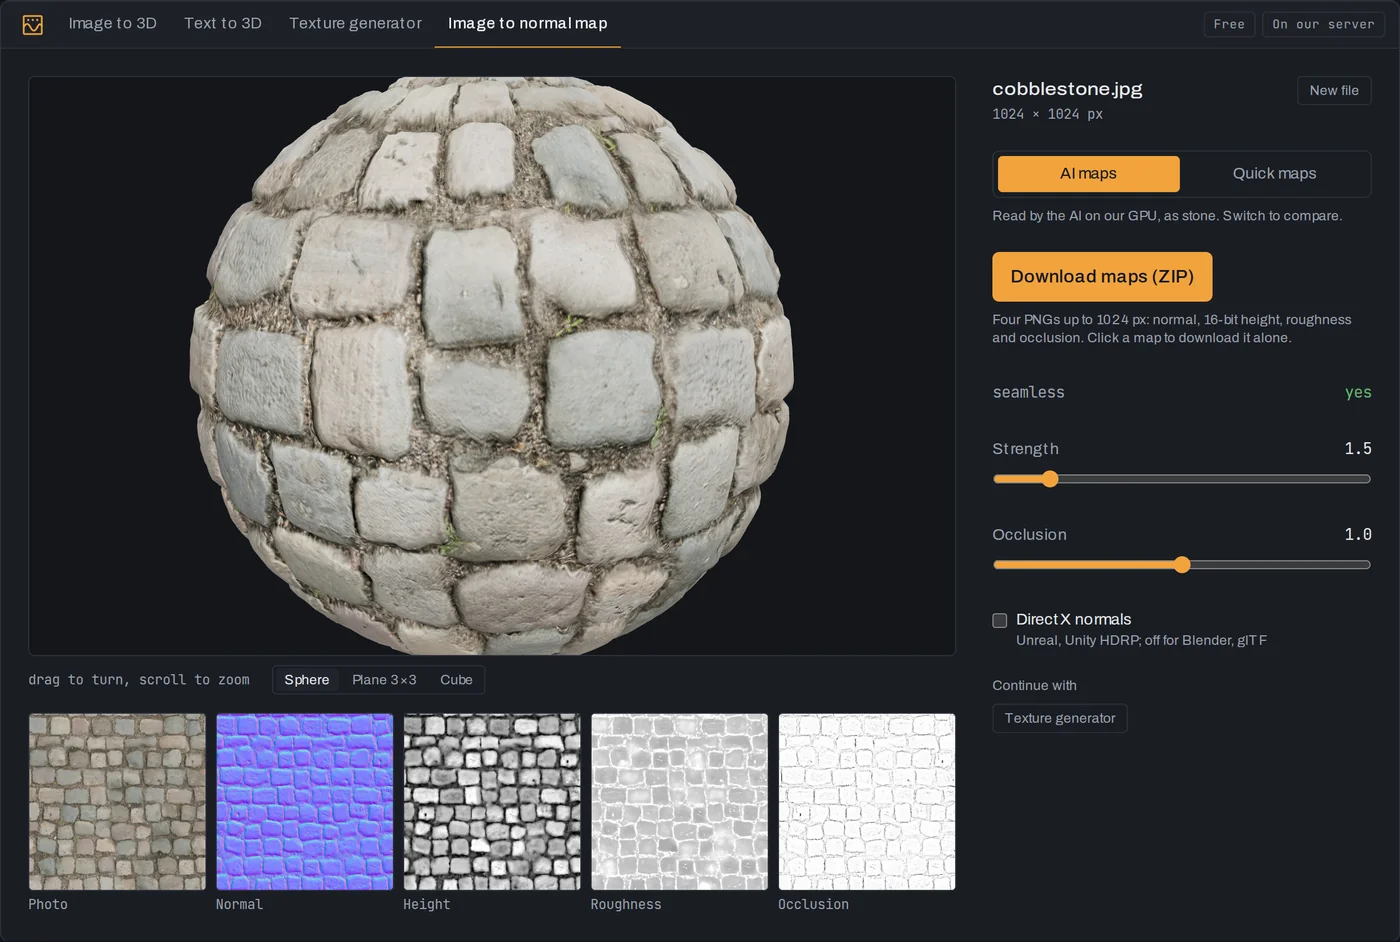
How to make a normal map from a photo
Turn a photo of a surface into normal, height, roughness and occlusion maps, read by AI on our GPU in seconds.
21 September 2026 · 4 min
Decimate in Blender, or reduce polygons online
Cut a heavy mesh down with Blender's Decimate modifier or in your browser: which mode to use, how far to go, and how to keep the shape and the textures.