How to make a normal map from a photo
Turn a photo of a surface into normal, height, roughness and occlusion maps, read by AI on our GPU in seconds.
22 September 2026 · updated 5 October 2026 · 2 min read
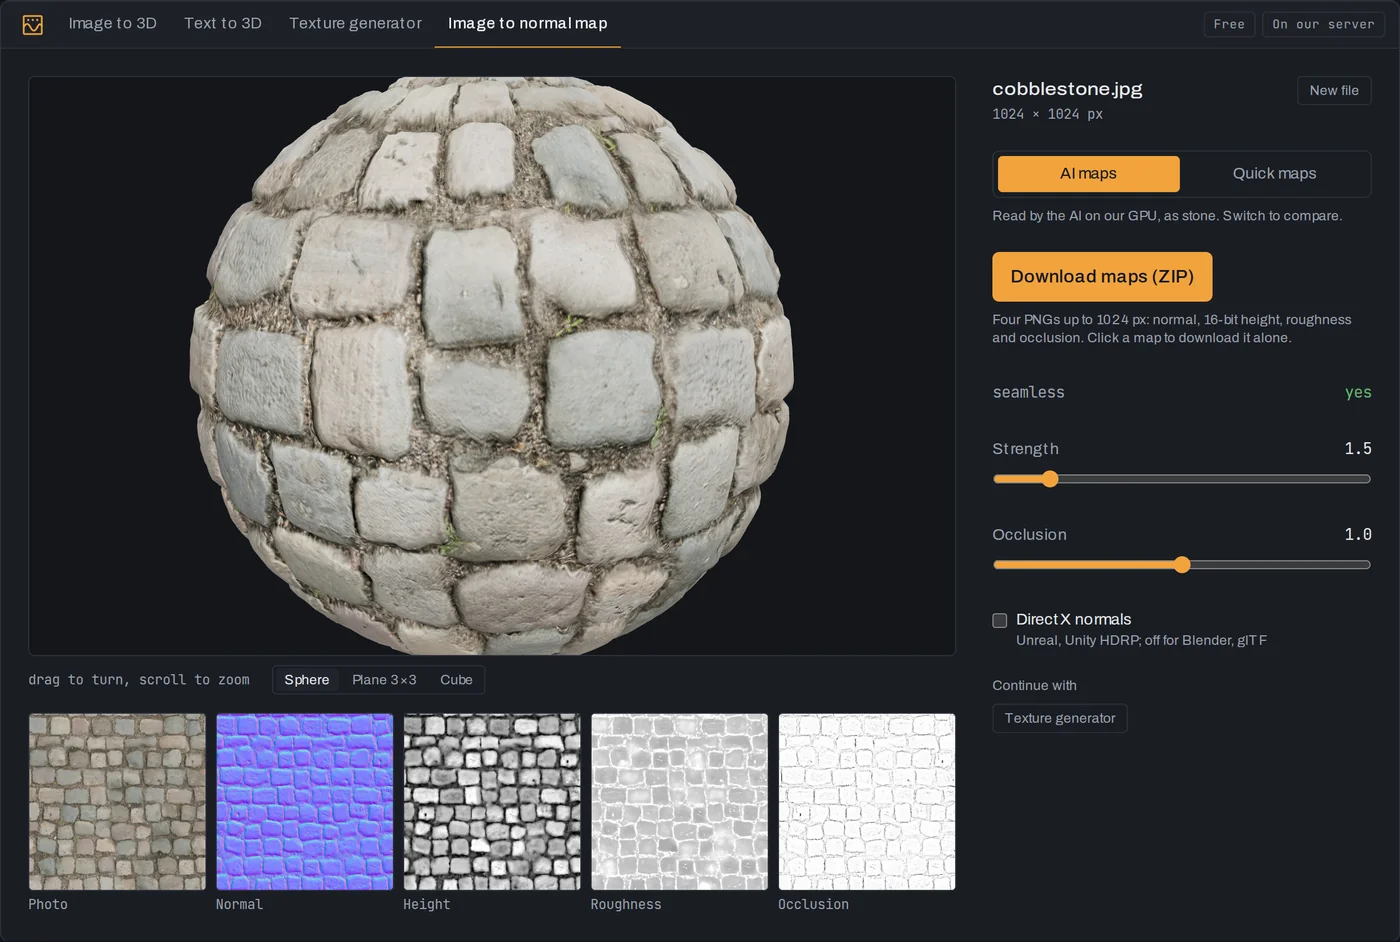
You have a photo of a wall, a floor, a piece of fabric, and the engine wants a normal map. This takes a minute. The example is a real cobblestone floor from Poly Haven, and it is one of the two samples on the tool, so you can follow along with the same photo.
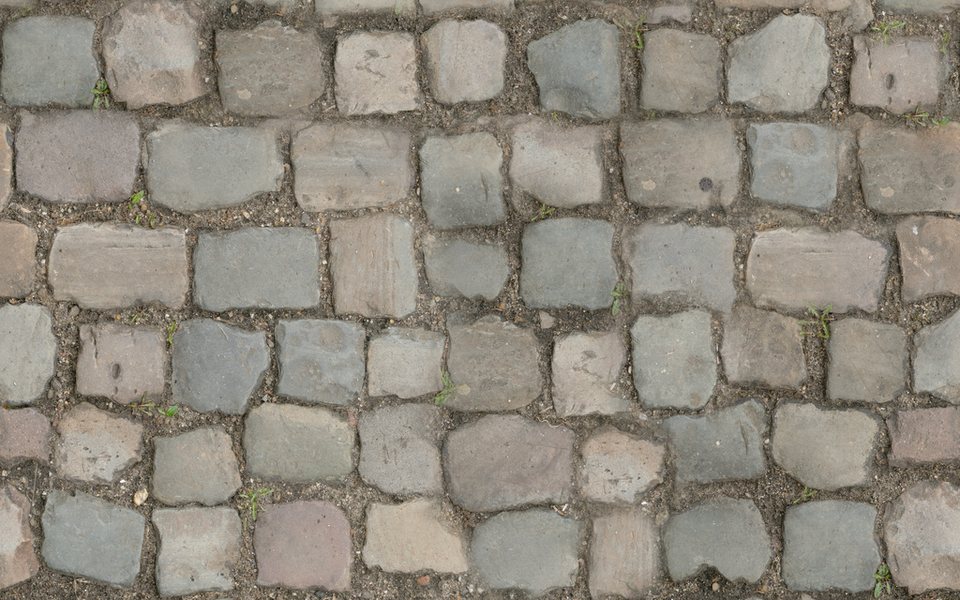
The photo
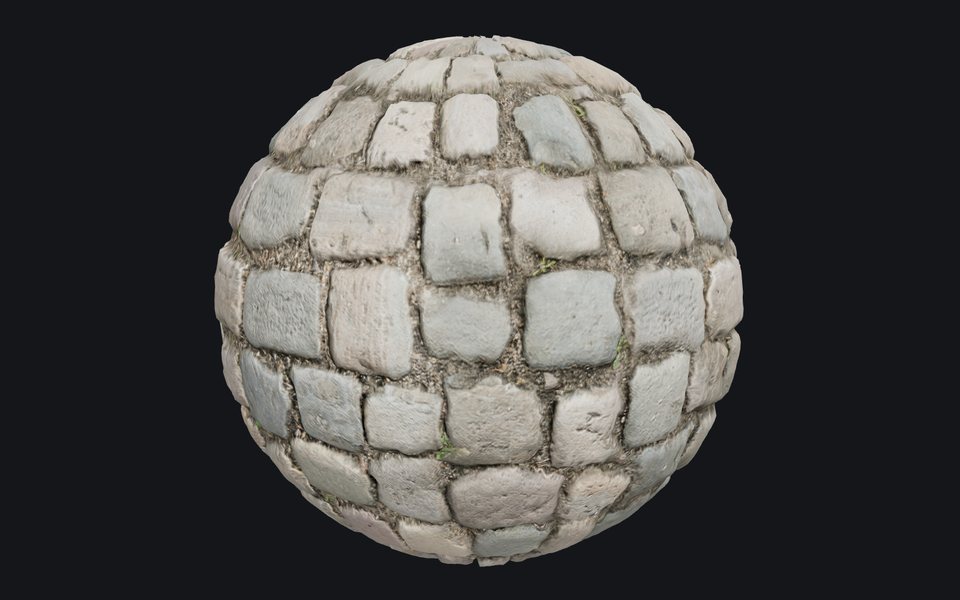
Lit from its maps
Pick the photo
Straight on, not at an angle. Even light, overcast or a shaded wall, because hard shadows in the photo will be read as depth. If the photo tiles already, the maps will too; the seamless line tells you whether it does. To make a photo tile, use the texture generator first.
Drop it in
Open Image to normal map and drop the photo, or pick Cobblestones or Brick wall. The photo opens ready, and nothing is sent yet.
Make the maps
Press Make maps and the photo goes to our GPU, where models trained on real materials read the shape: the stones raised, the joints sunk. Reading brightness as height, the older way, works for stone and plaster and fails on anything painted, where a white mortar line comes out raised and a dark stripe becomes a groove. It takes about ten seconds and the photo is not kept.
The sphere shows the maps under a light. Drag it around, or switch to Plane 3×3 to see the surface tiled. The line under the button says what the surface was read as, "stone" here.
Set strength, occlusion and the convention
Strength scales the bumps: too low and the surface looks painted, too high and every grain becomes a crater. Adjust it while looking at the sphere. Occlusion sets how dark the crevices go. Both work on the finished maps at once, with no second run.
Blender, glTF, three.js and Godot use OpenGL normals, which is the default. Tick DirectX normals for Unreal.
Download
Download maps (ZIP): normal, height, roughness and occlusion as PNGs named after the photo. The height is 16-bit, so displacement comes out smooth instead of stepped. Click any map under the sphere to download it alone.
What the maps are
Normal for the bumps, height for displacement or parallax, roughness for how the light scatters, occlusion to darken the crevices. What a PBR material is explains what each one does in the renderer.
This tool keeps the photo's own colour. Need a whole material with no photo to start from, a base colour that tiles, and a metallic map for rusty or painted metal? The texture generator makes all five maps from a description.
More tutorials
24 September 2026 · 3 min
Image to 3D print: how to 3D print a picture
Turn a picture of an object into a sealed STL at the size you want, and know the filament cost and the printer it fits before you slice.
23 September 2026 · 3 min
How to fix an STL file that will not slice
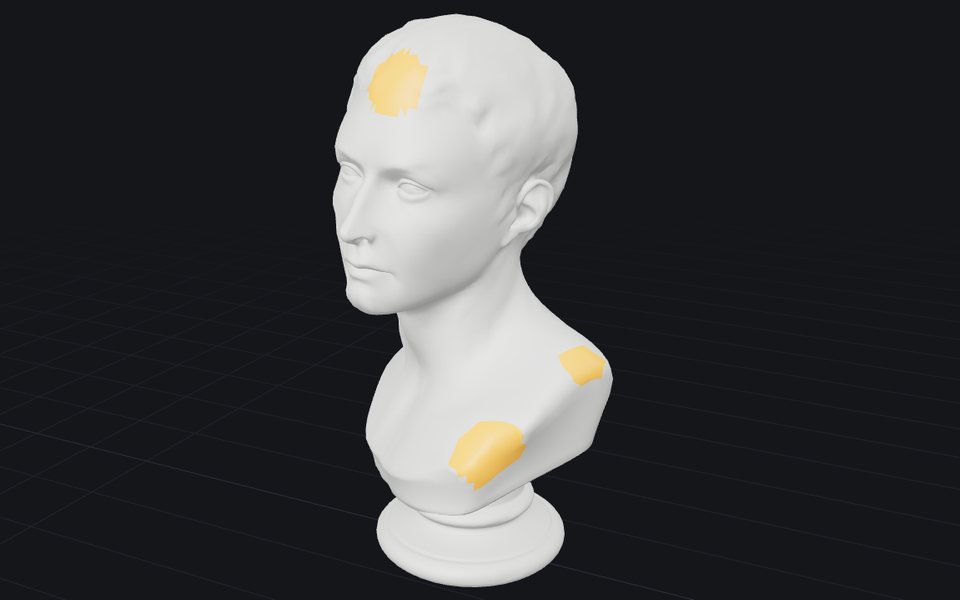
Holes, flipped faces, loose fragments, overlapping parts: choose how far the repair goes, watch it run, and see every patch it made before you download.
21 September 2026 · 4 min
Decimate in Blender, or reduce polygons online
Cut a heavy mesh down with Blender's Decimate modifier or in your browser: which mode to use, how far to go, and how to keep the shape and the textures.