How image to 3D works, and why the back is a guess
One photo in, a textured mesh out in about half a minute. What happens in between, what the model cannot know, and the photo that gives it a chance.
24 September 2026 · updated 29 September 2026 · 4 min read
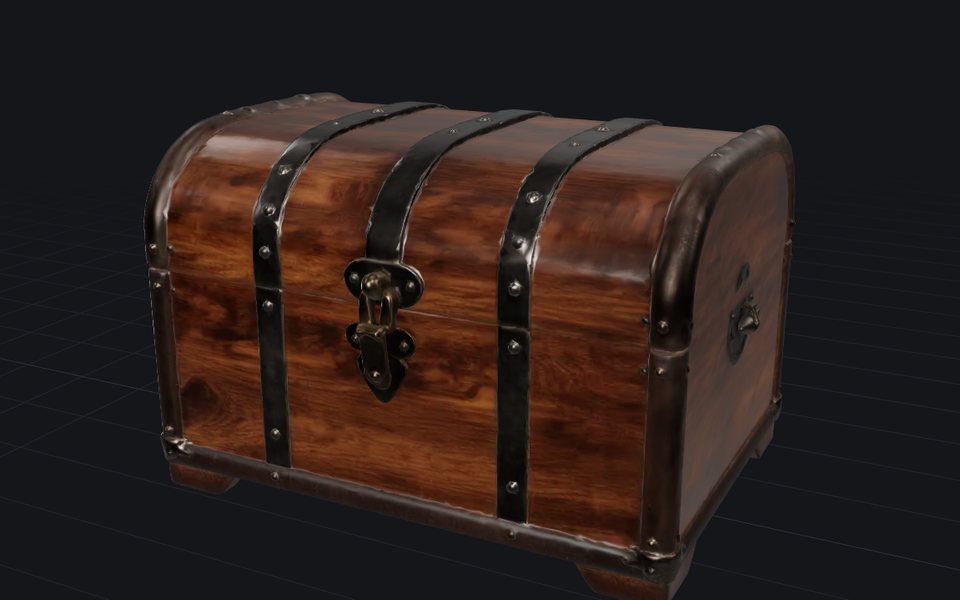
Drop a photo of a chest into the generator and about half a minute later there is a chest you can turn around. It looks like magic and it is not: it is a pipeline of four well-understood steps, and knowing them tells you exactly which photos will work and which will not.
Cut out the object
background removal
Predict the shape
a sparse 3D grid, in a few steps
Build the mesh
surface from the prediction
Paint the texture
colour and material, predicted with the shape
Step one: the object, alone
The model wants one object on nothing. So the first thing that happens is background removal, the same kind of segmentation model that cuts people out of video calls, leaving the object on a transparent canvas, scaled so it fills about 85% of the frame. Everything the model learns about the shape, it learns from this cutout. A busy background does not confuse the shape prediction so much as it confuses this cut: a chair against a bookshelf comes out with book spines attached.
Step two: the shape, from one view
This is the part that used to take hours and now takes seconds. Older methods rendered a guess, compared it with the photo, adjusted, and repeated a few thousand times. Current models are trained on millions of 3D objects, so they have seen a great many chests from a great many angles. Given one view, TRELLIS.2 generates a full 3D representation in a few sampling steps: first which cells of a sparse 3D grid hold any surface, then the shape and the material inside those cells.
That training is also the limit. The network is not measuring your chest; it is producing the most plausible chest consistent with the photo. Where the photo is silent, it decides:
- The back is invented. For symmetric objects that is nearly free, since the back of a mug is the front of a mug, and for a one-of-a-kind sculpture it is a guess dressed as a fact.
- Thin parts get thickened or dropped. Spokes, cables, chair legs seen edge-on: the volume the model works in is too coarse to hold them.
- Concavities flatten. The inside of a bowl or a hollow under a table is hard to infer from a single silhouette.
The photo angle matters for exactly this reason. Straight-on, the model sees one face and must guess the depth. Slightly from above and to the side, it sees the top and two faces and can triangulate, so the proportions come out right.
Step three: a mesh you can use
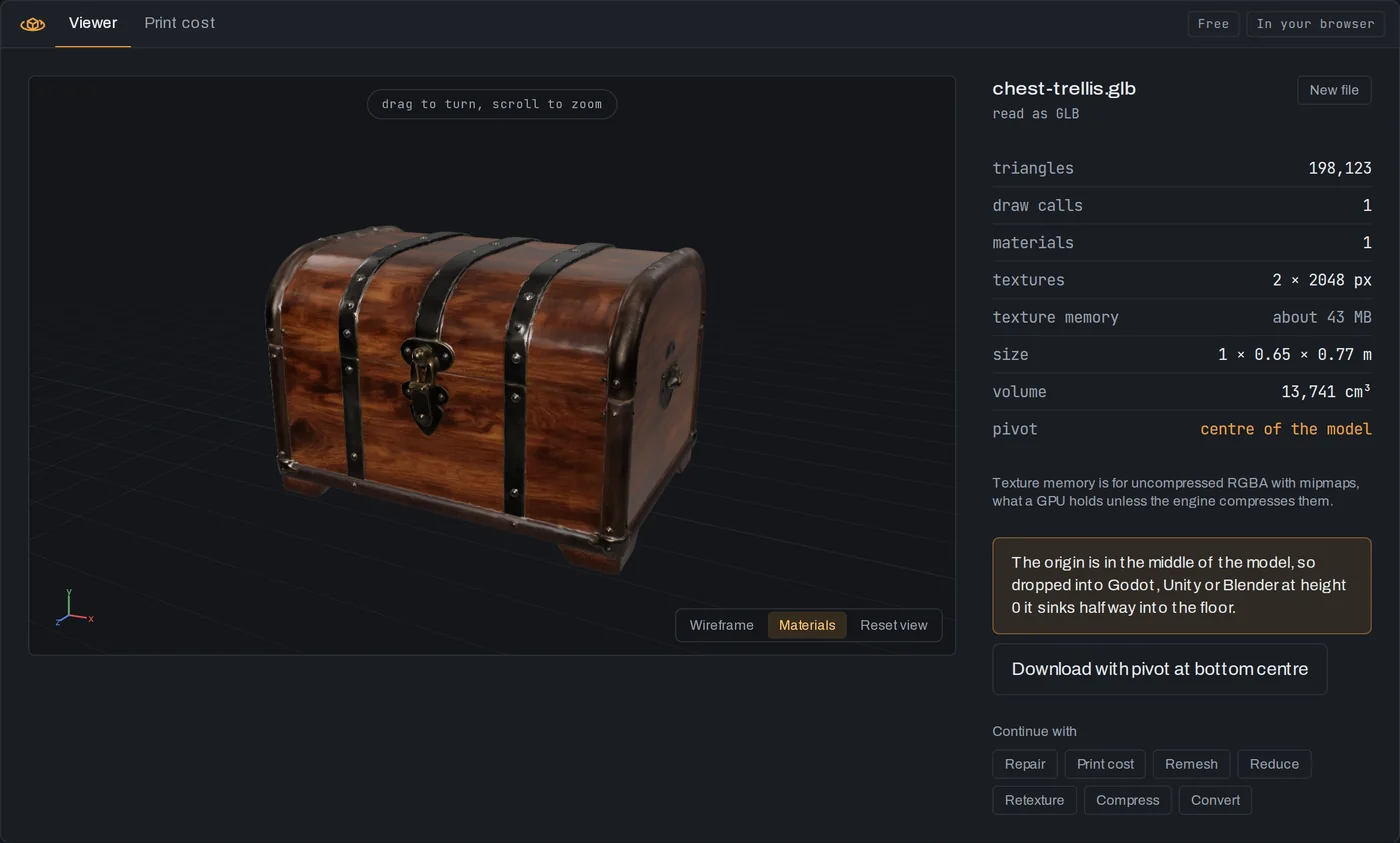
The grid is turned into a surface and simplified to about two hundred thousand triangles, with proper normals, UV coordinates and 2048-pixel texture maps, which is why the file opens in Blender with lighting that behaves. The resolution of that grid sets the time and the detail: 512 cells across takes about thirty seconds, which is what the free generator runs; 1024 takes about a minute and holds lettering, rivets and thin handles better.
It is close to printable but rarely perfect: a few small holes where thin parts meet, loose fragments floating near the surface, and often several shells pushed into each other rather than one skin. Slicers dislike all three, which is why the generator reads printing: needs repair and offers Repair for printing. Repair patches the holes, drops the fragments and joins the shells into one sealed solid, exactly where it can and from a fine grid where it cannot. Same shape, and it slices.
The mesh also has far more triangles than its shape needs, which is why Reduce can usually cut it to a tenth without a visible change, and Remesh can replace it with clean quads for editing.
Step four: the texture
The colour, roughness and metallic are predicted along with the shape, guided by the photo: close to it where the photo saw the surface, the model's best guess where it did not. Look at a generated model from behind and you will see the difference: the back is smoother, blurrier, an average of what the front suggested. A studio photo with flat lighting helps here too, because shadows in the photo tend to end up in the colour. A chest photographed under a window has a permanent dark side.
What this means for your photo
- One object, most of the frame, nothing touching it.
- A plain background: a wall, a sheet, the sky.
- Slightly from above, slightly to the side.
- Soft, even light. Overcast beats sunshine.
- Symmetric objects come out best. Organic ones vary.
And what it means for your expectations: a generated model is a starting point, not a scan. For a prop, a print, a placeholder or a game asset seen from a distance it is usually exactly enough. For a product seen from every angle you want several photos in, which the hosted engines offer; see the generators compared. And if the shape is right but the surface is not, Retexture repaints the model from another picture or a description, keeping the shape.
Text to 3D is the same thing with one extra step
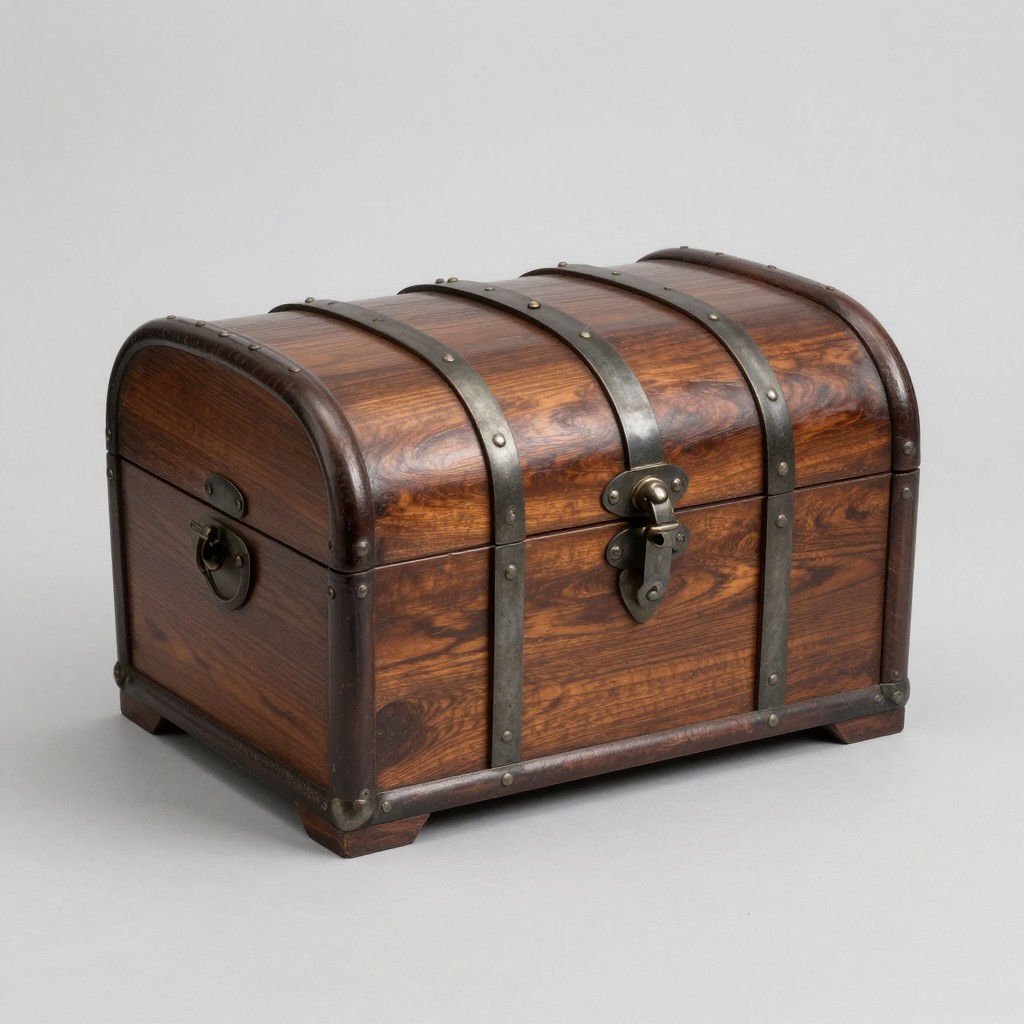
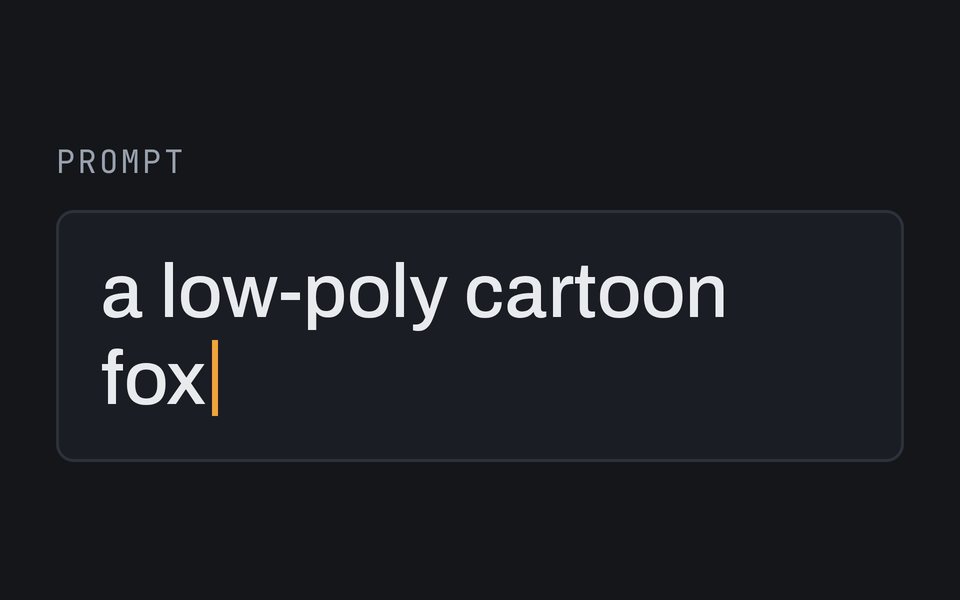
Describe the object instead of photographing it and an image model, FLUX.2 klein, paints the photo first: one object, plain light background, product-shot angle, exactly the brief above. Then the same four steps run. That is why the painted picture is shown next to the result: it is the input.
The description
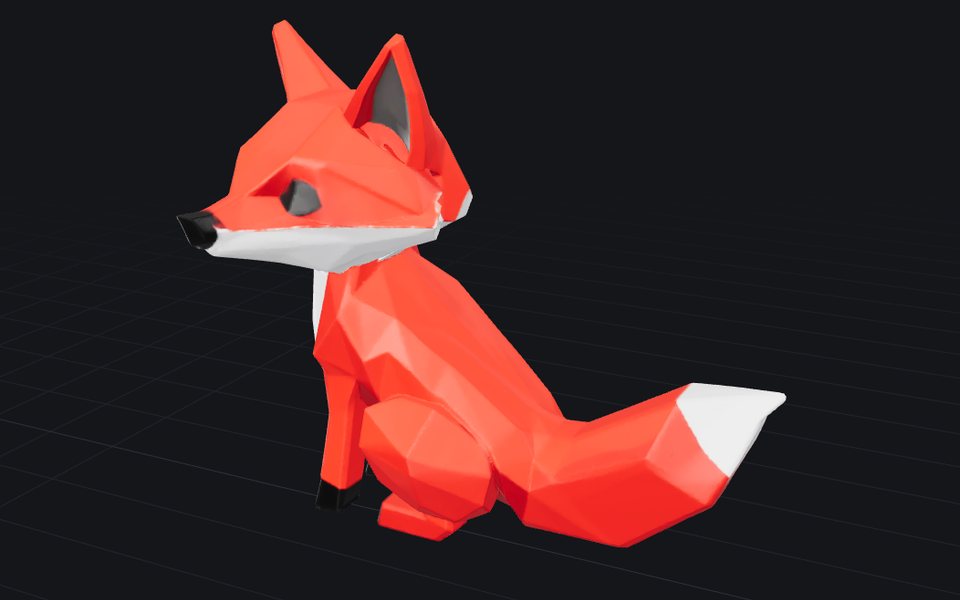
The model
Because the picture decides the shape, Text to 3D lets you check it before any 3D is made: tick Check the picture first, change the words until the painting is the object you meant, then Build the 3D model. If the picture was right but the mesh was not, Build again from this picture runs the 3D half again without repainting.
More from the blog
29 September 2026 · 4 min
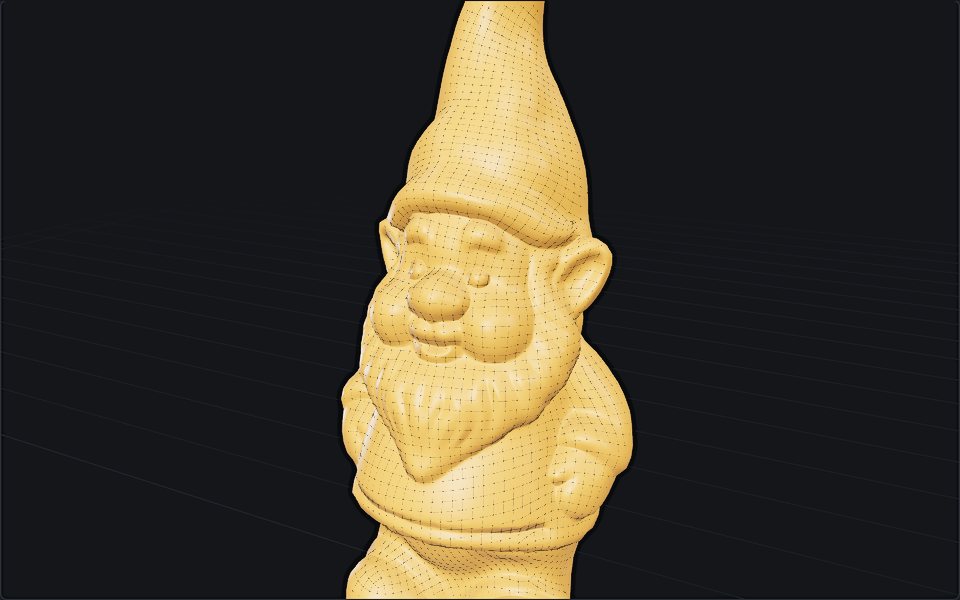
What is retopology, and when automatic is enough
Retopology rebuilds a messy mesh as clean, even quads. Why models need it, manual versus automatic, the tools in Blender and beyond, and where they fail.
29 September 2026 · 5 min
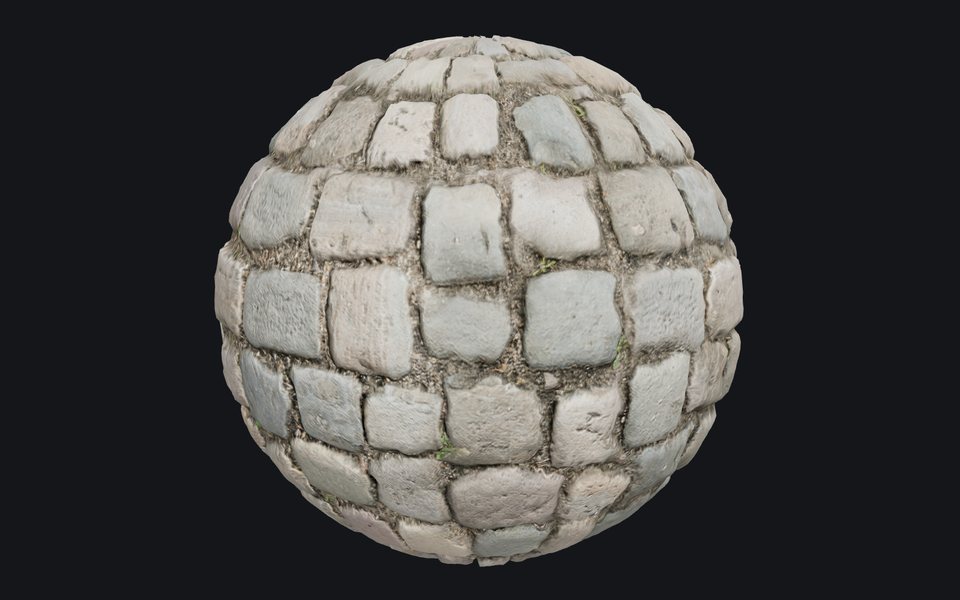
What is a normal map, and why is it purple?
A normal map fakes bumps without adding polygons. How its colours encode direction, OpenGL versus DirectX, normal versus bump, and how to make one.
23 September 2026 · 4 min
Best AI 3D model generators in 2026, compared
Meshy, Tripo, Rodin, Hunyuan3D, TRELLIS.2 and Stable Fast 3D compared by input, output, price and licence, so you can pick the right one for your job.