What is PBR? PBR textures, map by map
PBR, physically based rendering, describes a surface in five maps: colour, bumps, shine, metal. What each PBR texture does, shown on a real brick set.
22 September 2026 · updated 5 October 2026 · 4 min read
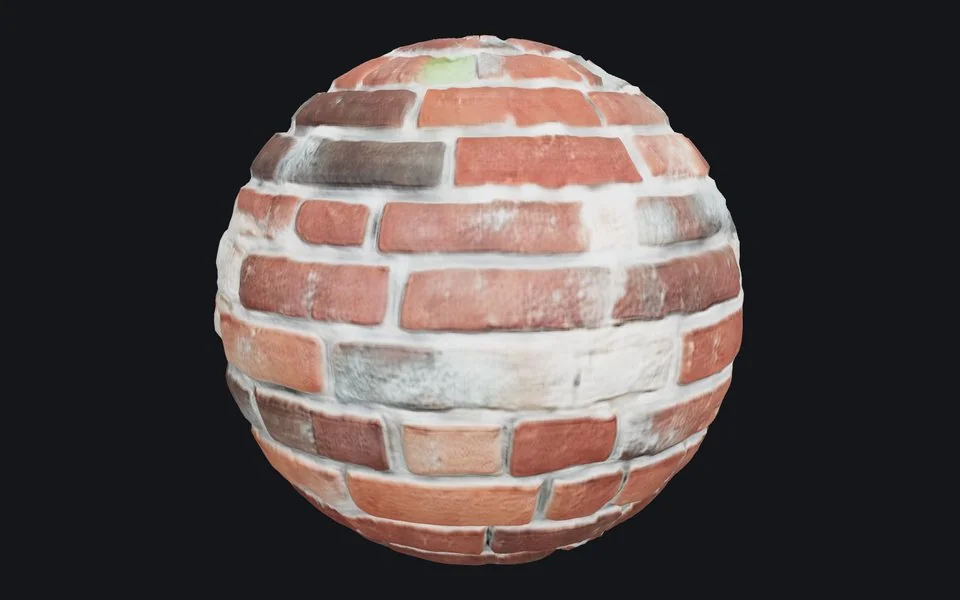
Search for "brick texture" and you get photos of brick walls. Put one on a 3D wall and it looks like a photo of a wall glued to a wall, because that is what it is: the light in the photo is baked in, the bricks have no depth, and when the sun in your scene moves, the shadows in the photo do not. A material fixes that by splitting the surface into properties a renderer can light for itself. That is PBR, physically based rendering: the renderer computes the light the way it behaves in the real world, and the textures only say what the surface is made of.
Base colour
Normal
Height
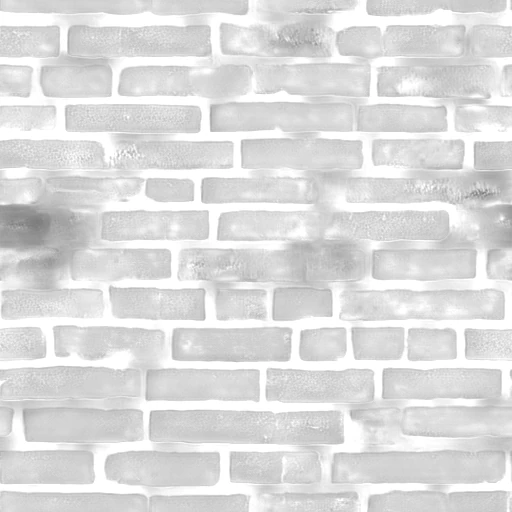
Roughness

Metallic
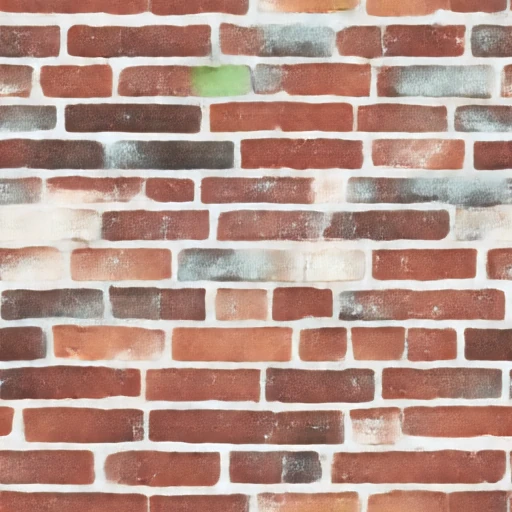
That set was made from the words "old red brick wall with worn mortar" by the texture generator: an image model painted the colour so that it tiles, and models trained on real materials read the other four from it, taking it for brick. Five maps, all the same size, all lining up pixel for pixel. This is what each one is.
Base colour
The colour of the surface with the lighting taken out: no shadows, no highlights, no dark side. Sometimes called albedo. It looks flat and slightly dull compared with a photo, and that is correct: the renderer will add the light back. A base colour with shadows baked in is the most common mistake in a hand-made material, and the reason "photo textures" look wrong the moment the light moves.
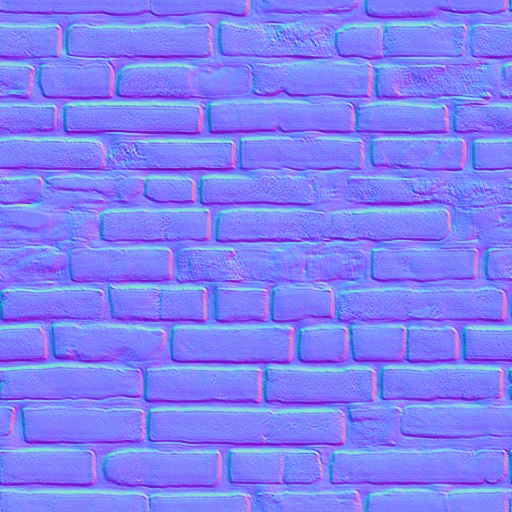
Normal
The bumps. Each pixel stores a direction, which way that tiny bit of surface faces, encoded as colour, which is why normal maps are that particular purple-blue. Flat surface, pointing straight out: blue. A slope to the left: more red or less. The renderer uses it to light the mortar lines as recessed and the brick faces as flat without the mesh having any actual geometry. Two conventions exist, OpenGL and DirectX, differing only in which way "up" is in the green channel; get it wrong and the bumps look pressed in under certain lights.
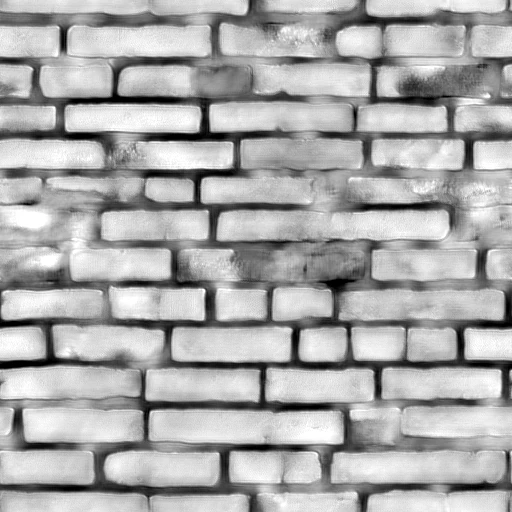
Height
The same bumps as an actual distance: white is high, black is low. In the set above the brick faces are light and the mortar dark, because the mortar is recessed. Where the normal map fakes the shading, the height map can move real geometry, called displacement, so the silhouette of a wall gets a genuinely ragged edge and bricks cast real shadows on each other. It costs polygons to use, so most surfaces use the normal map and keep the height map for close-ups and for parallax tricks.
Roughness
How glossy. Black is a mirror, white is chalk. Brick is rough everywhere, and the mortar rougher still, which is why it is the brightest part of the map above. This map is what separates a plastic-looking render from a convincing one, because real surfaces are never uniformly shiny: the worn spots, the greasy spots, the wet spots are all in this map.
Metallic
Whether the surface is metal, which changes how it reflects light altogether: metals tint their reflections and have no diffuse colour. For brick this map is black. For a rusty plate it is white where the steel shows and black where the rust is, which is exactly the kind of thing you cannot get from a photo.
Put the five on a sphere under an environment light, as in the picture at the top, and turn the light: the mortar lines stay recessed and the bricks stay matte, because those are properties now, not pixels.
Why "seamless" is part of the definition
A wall is many copies of the same tile. If the tile's left edge does not continue into its right edge, every copy shows a line. A material is only useful if it tiles, and the honest test is to tile it three by three and look. That is why the generator's preview has a tiled plane, and why a seamless line, measured on the result, sits next to every one.
Where the maps come from
Three ways. A scan: photograph the surface under several lights and solve for the properties. This is what Poly Haven and ambientCG do, and it is why their materials are the reference.
Derivation: take one photo and estimate the other maps from its brightness and detail. It works on stone and plaster and fails on anything painted: bright mortar comes out raised, a dark stripe becomes a dent.
Or a trained model: networks trained on scanned materials look at the photo and read the shape rather than the brightness, so the brick faces come out raised and the mortar sunk, and the roughness follows what the surface is. That is what Image to normal map does with a photo, and what the texture generator does for every result, the brick set above included. Give the generator a description, a photo of a surface, or both, and it returns a colour that tiles with its four maps.
Using one
Every renderer takes the same set. In Blender, the Principled BSDF has a socket for each map (Normal goes through a Normal Map node; set Roughness and Metallic images to Non-Colour). In Unity and Unreal a standard material has the same slots. In three.js, MeshStandardMaterial takes map, normalMap, roughnessMap, metalnessMap and displacementMap. Download the zip (the normal map is OpenGL; flip the green channel for Unreal, or use Adjust the maps to get it the DirectX way), drop the folder in, and it works.
More from the blog
29 September 2026 · 4 min
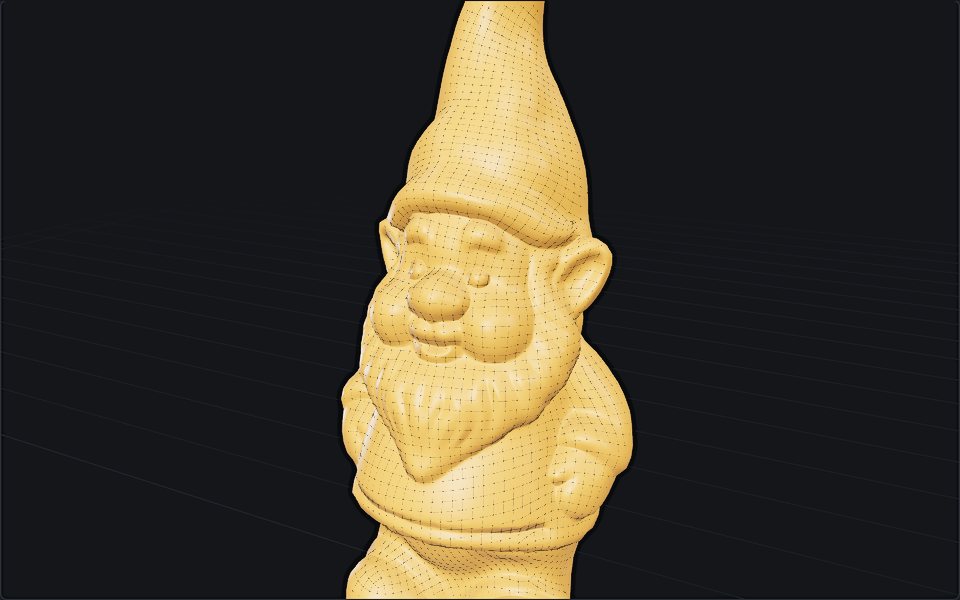
What is retopology, and when automatic is enough
Retopology rebuilds a messy mesh as clean, even quads. Why models need it, manual versus automatic, the tools in Blender and beyond, and where they fail.
29 September 2026 · 5 min
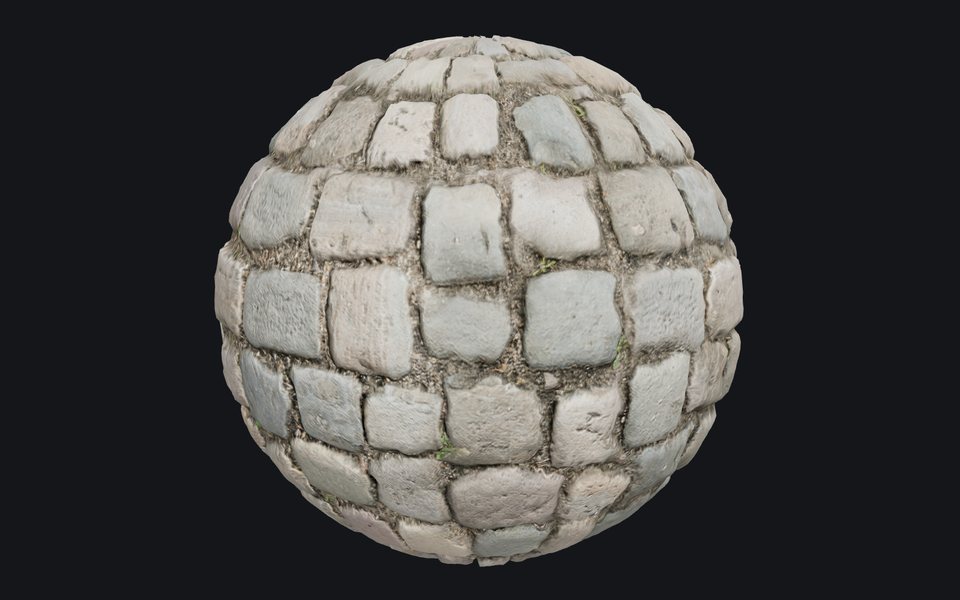
What is a normal map, and why is it purple?
A normal map fakes bumps without adding polygons. How its colours encode direction, OpenGL versus DirectX, normal versus bump, and how to make one.
24 September 2026 · 4 min
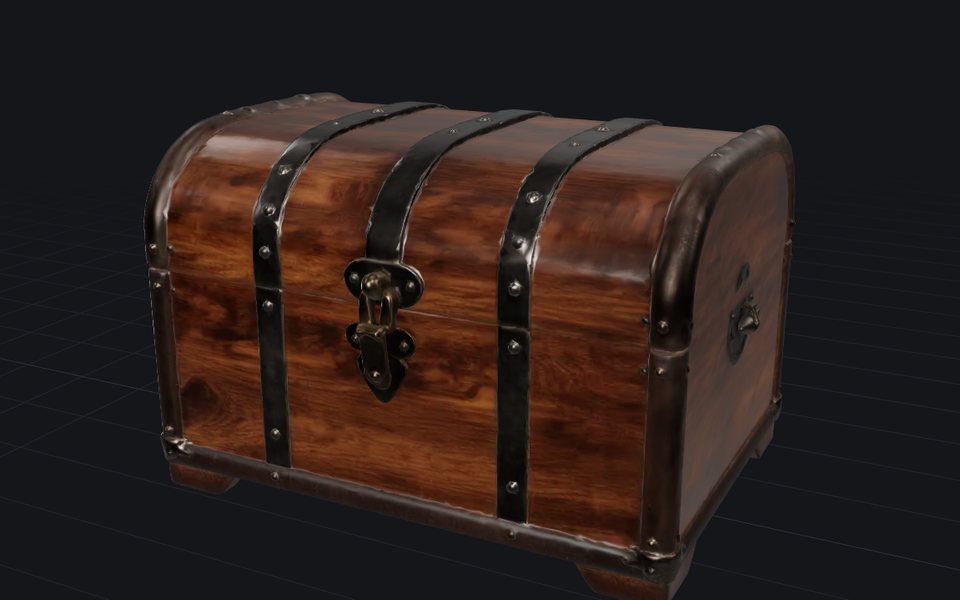
How image to 3D works, and why the back is a guess
One photo in, a textured mesh out in about half a minute. What happens in between, what the model cannot know, and the photo that gives it a chance.